Posts

Showing posts from 2014

Best Projects of 2014

Image
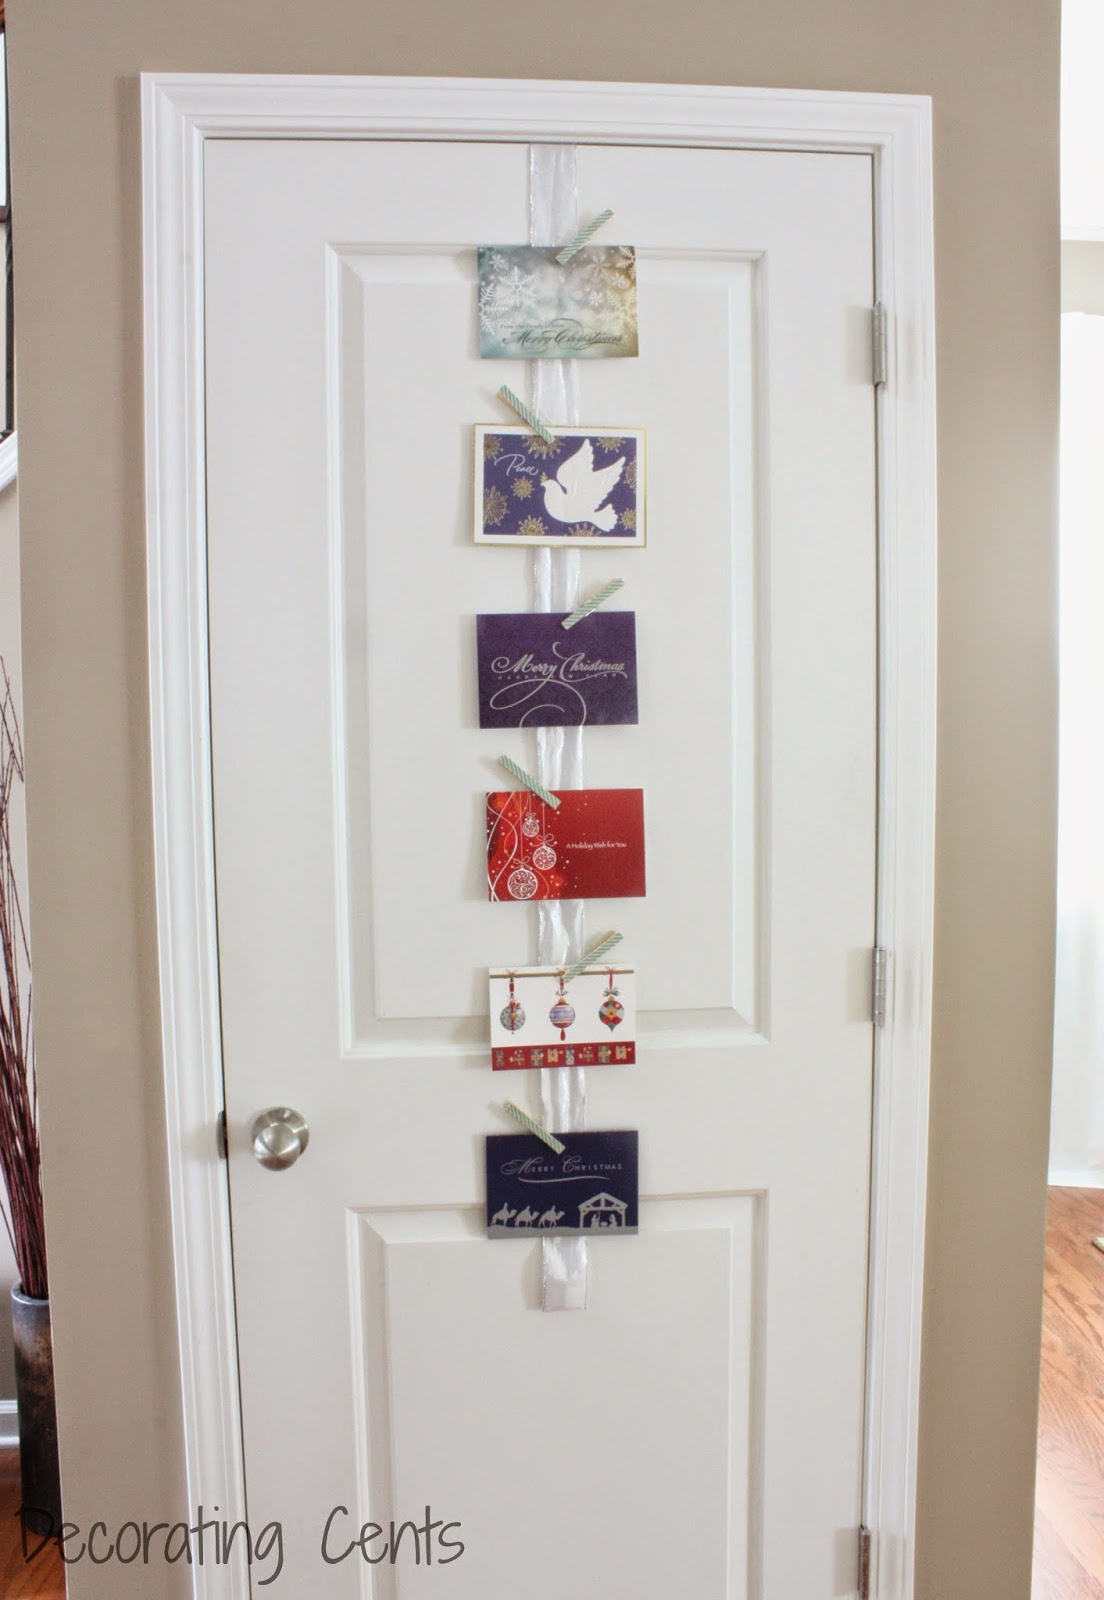
Well hello there friends.  How was your Christmas?  Ours was great.  We have Christmas at our house early and drove down to visit family out of state for Christmas morning.  There are so many toys laying around it's driving me crazy!!  I've enjoyed the break being home with the kids and doing nothing.  I really needed this break. My mom gave me a break yesterday and I decided to pack up the Christmas decor.  I loved it but I was ready to get my house back to normal.  It's funny how long it takes to put up the tree and decorate but takes minutes to pull everything down.  I'm still finding glitter all over the house.  I've been on a cleaning frenzy...getting rid of old toys and other things we don't use.  I'm hoping to make my last trip to Goodwill for the year today. I started the year off with a makeover to my daughter's bathroom . I took on another West Elm inspired project... DIY sculptural spheres .   I finally finished the hall ba

Christmas Card Holder

Image
Now that Christmas time is in full effect, the Christmas cards are arriving in the mail.  Instead of stacking them on a table this year, I want to display them in the open.  They're too pretty not to put out for everyone to see.   I hung and tacked a ribbon to the top of the entry closet door.  I wanted to use clothes pins to attach the cards to the ribbon.  Before I did that, I cut pieces of washi tape to decorate the fronts of them a little.   Now they look more festive with some color on them.    I think the cards add a perfect accent to the door.  Only a portion of the ribbon is exposed on the outside so I can lengthen it as more cards come in. Now we can walk by and look at all the Christmas cards family and friends have sent us. How are you displaying your cards?   You're reading Christmas Card Holder by Andrea, originally posted on Decorating Cents .  If you've enjoyed this post, be sure to follow Andrea on Facebook , Pinterest , Bloglo

DIY Ornament Garland

Image
I always drape a faux evergreen garland across the family room mantle.  This year, I was determined to dress it up with leftover ornaments.  This was a super simple project. I started by laying my garland out.  I wrapped a couple pieces of ribbon around it first.  I decided to used gold, silver, and blue just like the tree.  I first attached the silver ornaments.  I attached the ornaments to the garland with ornament hooks that are meant for the tree.  I unbent the curves on the ends and made a v-shape in the center.  I hooked it through the ornament and tied it on like a bread tie.  I made sure to bend the ends in towards the garland so I wouldn't scratch the mantle.  I left enough space in between each silver because I wanted to add the others.  Sorry, I didn't take pictures of the process. I then added the gold and blue, alternating the colors.  I tried to make the ornaments fall on different sides of the garland so it would look more natural. I think

Gold, Silver, and Blue Christmas Tree

Image
The Christmas tree is finally up and decorated.  It took me a while since the kids wanted to help  I was re-arranging as we went since my daughter puts ornaments wherever.  My son was pulling off the ribbon as soon as I put it up.  Out of frustration, the tree sat for a week with just ribbon. In years past I have done a gold and silver tree and a blue and silver tree .  This year, I combined all three colors of gold, silver, and blue. I used the collection of ornaments I already had.  The only new thing I bought was the ribbon from Dollar Tree.  It's off white with gold stripes down the center. In recent years, I've started using a ribbon bow as a topper instead of a star or angel. I started with gold and silver round ornaments and added the blue ones at the end since I just wanted a pop of color.  They are an assortment of shiny, matte, glittered, and ribbed from Garden Ridge and Walmart.  I love the large gold stars from Dollar Tree. There are

November Month In Review

Image
Yep, December is here.  It seems like this year just moved by so quickly.  Four more weeks and it'll be a new year. Here's what happened around here in November. I did a roundup of some holiday decor from Target. I shared some tips on saving money on home decor. I created a harvest sign for my entry table. I'm helping mom decorate her living room and shared some chair options . Some holiday gift guides to help buy the perfect gift for special people in your life. I finally found a rug for the living room. I shared some decorating ideas for renters. December has a full calendar already.  We'll be busy around here with decorating, Christmas parties, traveling, and lots of family time.  Make it a great one!   You're reading November Month In Review by Andrea, originally posted on Decorating Cents .  If you've enjoyed this post, be sure to follow Andrea on Facebook , Pinterest , Bloglovin , and Hometalk .

Christmas Entry Table

Image
One of the places I like to keep decorated for the season is the entry table.  It's the first surface you see when walking in the house.  As usual, I like to keep things simple.  My son is grabbing everything now and I don't want to put too much out for fear that it will be taken down and broken.  He has a thing for throwing anything round and resembles a ball. I kept my colors to blue and silver.   I had everything on hand except the lantern.  On the left is a vase filled with ornaments and a couple garland trees . On the right is a lantern from Ikea that was originally green but I spray painted blue.  I added a silver gift box and another garland tree . I removed one of our family photos to insert a Christmas printable in the middle. Our Christmas tree is still bare right now except for lights.  Hopefully it will get decorated this weekend. Are you doing any holiday decorating?      You're reading Christmas Entry Table by Andrea, or

Easy Advent Calendar

Image
I think one of the things my daughter loves about Christmas is the countdown.  Of course Christmas morning gift opening is the best for her but getting there can be fun too.  Today is December 1st and and I almost didn't make it.  December came up quick. Here's what I used: card stock cuts into small squares washi tape Sharpie marker To make the numbers on each card, I traced some numbers I printed. To make the numbers solid, I simply colored them in with the Sharpie. I taped the cards in a tree shape on the side of the fridge using washi tape. I used my usual Christmas color of blue tape instead of red. Since these are cards and not envelopes or boxes, I have a separate list of activities we can choose to do each day. Having a calendar to count down the days until Christmas gets the kids involved.  It also  reminds us adults how many shopping days are left to get those kiddos gifts.  We told my daughter to circle the toys she woul