Sweet Girl's Room: No Sew Pillows
I knew for the girl's room I wanted to add some throw pillows to give her some more color. She also likes to sit and lay on them. I found some fabrics at Hancock that matched her room colors perfectly. I don't sew (although I intend to buy a sewing machine in the near future), so I go no-sew all the way.
You'll need:
Fabric
Fusible Web ( I use Stitch Witchery)
Iron
Scissors
1 - Measure the pillow you are going to cover with fabric. My pillow is 19 inches wide.
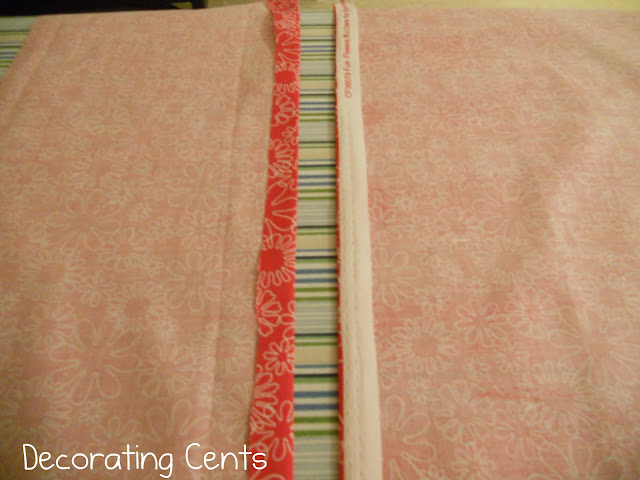
4 - Fold the opening edges in half an inch, insert your fusible web, and bond using the iron.
7 - Let your pillow cover cool off a while before turning inside out. This allows it to set. Turn inside out, insert pillow, and voila! A nice new pillow.
Yay! More color, pattern, and a place to lounge.
Linking to
Remodelaholic * Chic on a Shoestring Decorating * Crafty Confessions * Dittle Dattle * Under the Table and Dreaming * Sassy Sites * Reasons to Skip the Housework * Coastal Charm * Newlyweds on a Budget * Not Just a Housewife * A Bowl Full of Lemons * Sugar Bee Crafts * House of Hepworths * Bear Rabbit Bear * The Shabby Creek Cottage * Just a Girl * Home Stories A to Z * Tip Junkie * Someday Crafts * Less Than Perfect Life of Bliss *


Look at you! Everything is coming together perfectly! SO CUTE!!
ReplyDeleteIf you need any sewing help, let me know! I'm getting better with the sewing machine every day!
Jennifer
Great idea! These are so cute!
ReplyDeleteWow! You definitely cannot tell they're not sewn. Thanks for sharing!
ReplyDelete