DIY Fabric Trimmed Curtains
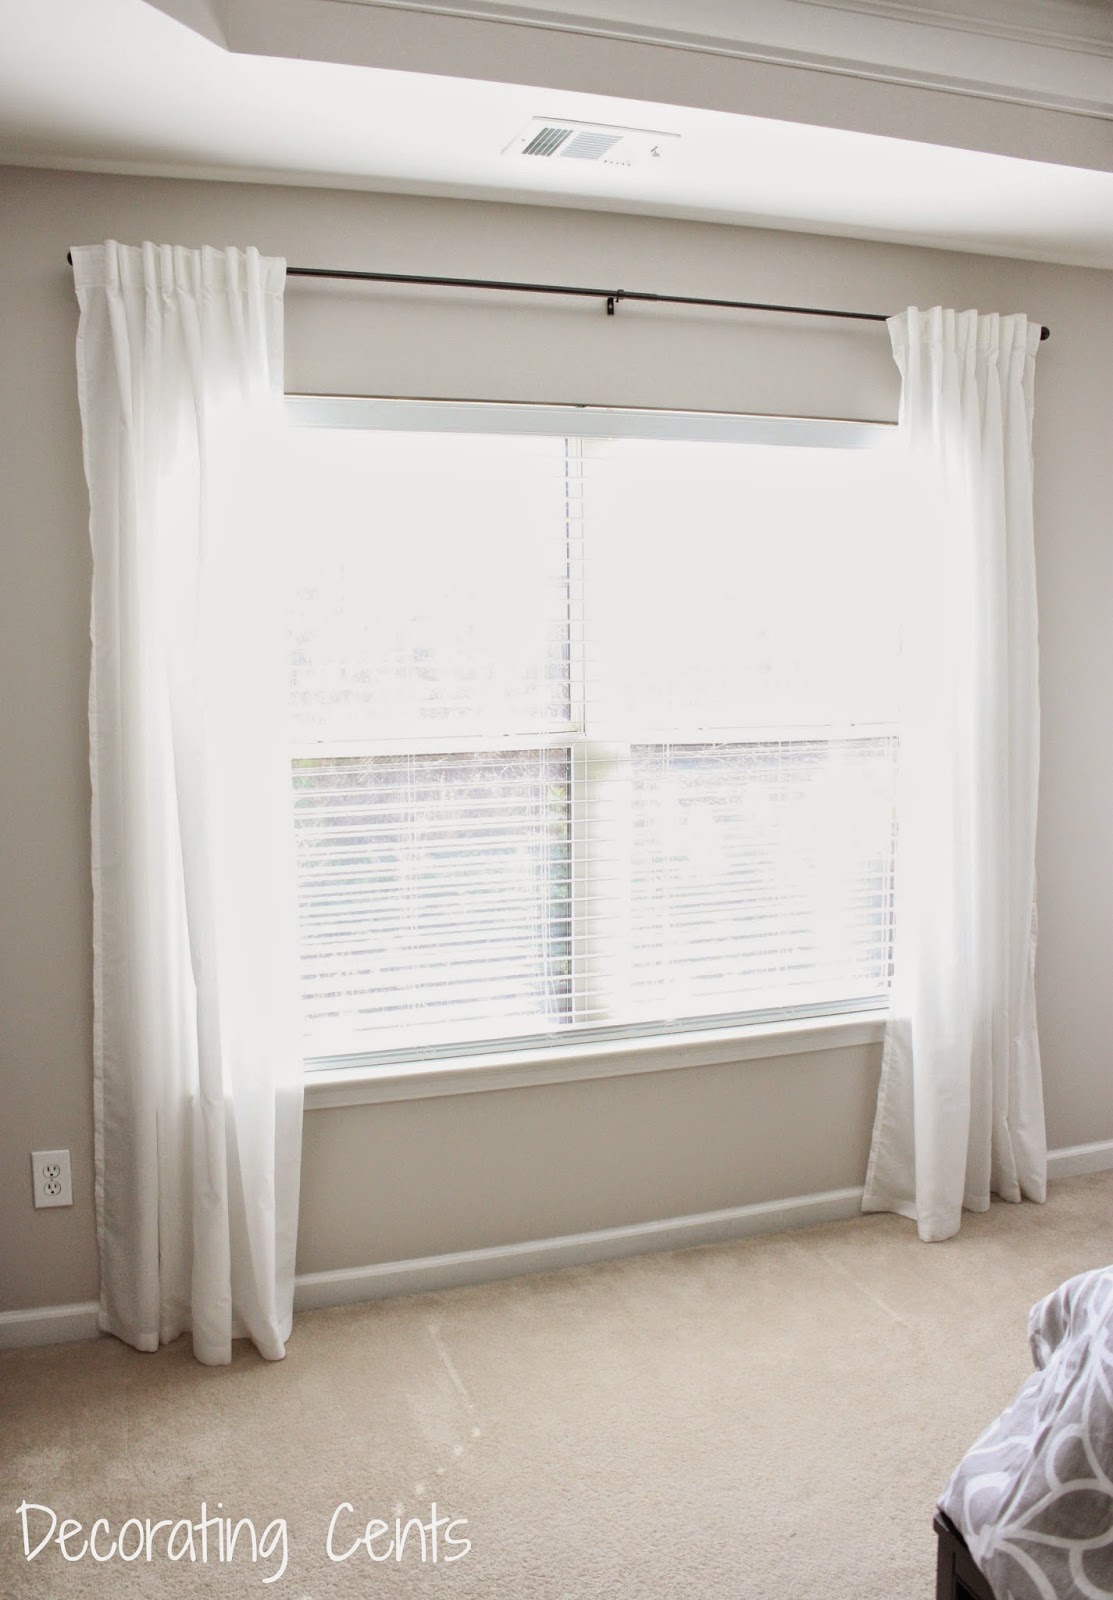
This project has been on my list for a while and I can finally check it off. We had plain white curtains from Ikea hanging in our master bedroom. I loved the simpleness of them but I wanted to jazz them up a bit.
I went back and forth between trimming the curtains down the sides or adding fabric on the bottom like I did in the nursery. The trimmed idea won. I started late Friday night. I wasn't sure how much I would get done but at least I had gotten a start. We have four windows in the room which means a total of eight panels to trim! Was I crazy for wanting to do this to so many panels? After figuring out the first one, I got on a roll and didn't want to stop. I had gotten five panels done when I noticed it was 1:00 AM. Time to turn in and start again in the morning.
To trim the curtains, I picked up a twin bedsheet from Walmart. It gave me a ton of fabric for a cheap price. Instead of choosing a plain gray sheet, I chose one that had a pattern for more texture in the room. I also used fabric glue, scissors, and measuring tape.

Here's how I trimmed the curtains.
1. I laid out my sheet on the floor. I wanted three inch strips so I measured four and a half inch strips to start. This gave me room for the three inch strip, a half inch seam on one side, and a one inch seam on the other.
2. On the seam that would be on the outside, I wanted it it look finished. So I rolled the fabric in half an inch and rolled half an inch again and ironed. In total, I rolled it an inch in. I did this all the way down the strip. I was going to just lay the fabric on top but I thought this way would look more professional from the front.
3. I flipped the fabric right side up and measured three inches across. I folded it at the three inch mark and ironed.
4. Again, I continued this all the way down until my strip was complete.

5. I laid out my curtain panel and laid the strip on top, making sure the double rolled edge was towards the outside. Flip the edge of them both over together. Tuck the edge of the curtain inside the fabric. Apply a line of glue and press down.
6. I glued this edge all the way down.
7. Flip the panel back over, right side up. Starting at the top, I just cut my fabric a little longer and tucked it so it had a finished edge.
8. Begin gluing the fabric down to the top of the curtain. I must say I was pretty impressed with this fabric glue. Why haven't I used this before? Way easier than hem tape.

This is what it looked like all glued down. Don't forget I did eight panels but it went pretty quick. Once I found my rhythm, you couldn't stop me.

Look at the results! I love it.

The curtains frame the window now. They look so much more tailored and polished.


The room is starting to fall into place.

I'm glad I finally completed this and checked it off my list. The curtains make a statement in the room and give it a more luxurious feel.

So much better right?
To see progress:
Master Bedroom Plans
To trim the curtains, I picked up a twin bedsheet from Walmart. It gave me a ton of fabric for a cheap price. Instead of choosing a plain gray sheet, I chose one that had a pattern for more texture in the room. I also used fabric glue, scissors, and measuring tape.
Here's how I trimmed the curtains.
1. I laid out my sheet on the floor. I wanted three inch strips so I measured four and a half inch strips to start. This gave me room for the three inch strip, a half inch seam on one side, and a one inch seam on the other.
2. On the seam that would be on the outside, I wanted it it look finished. So I rolled the fabric in half an inch and rolled half an inch again and ironed. In total, I rolled it an inch in. I did this all the way down the strip. I was going to just lay the fabric on top but I thought this way would look more professional from the front.
3. I flipped the fabric right side up and measured three inches across. I folded it at the three inch mark and ironed.
4. Again, I continued this all the way down until my strip was complete.
5. I laid out my curtain panel and laid the strip on top, making sure the double rolled edge was towards the outside. Flip the edge of them both over together. Tuck the edge of the curtain inside the fabric. Apply a line of glue and press down.
6. I glued this edge all the way down.
7. Flip the panel back over, right side up. Starting at the top, I just cut my fabric a little longer and tucked it so it had a finished edge.
8. Begin gluing the fabric down to the top of the curtain. I must say I was pretty impressed with this fabric glue. Why haven't I used this before? Way easier than hem tape.
This is what it looked like all glued down. Don't forget I did eight panels but it went pretty quick. Once I found my rhythm, you couldn't stop me.
Look at the results! I love it.
The curtains frame the window now. They look so much more tailored and polished.
The room is starting to fall into place.
I'm glad I finally completed this and checked it off my list. The curtains make a statement in the room and give it a more luxurious feel.
So much better right?
To see progress:
Master Bedroom Plans

You're reading DIY Fabric Trimmed Curtains by Andrea, originally posted on Decorating Cents. If you've enjoyed this post, be sure to follow Andrea on Facebook, Pinterest, Bloglovin, and Hometalk.
Sharing with
Under the Table and Dreaming * DIY Showoff * Between Naps on the Porch * Creatively Living * Keeping It Simple * Skip to My Lou * Sew Can Do * View From the Fridge * My Uncommon Slice of Suburbia * A Bowl Full of Lemons * Home Stories A to Z * Funky Polka Dot Giraffe * Homework * Ladybug Blessings * New Nostalgia * Sugar Bee Crafts * The Winthrop Chronicles * Tiny Sidekick * The Blissful Bee * DIY on the Cheap * Anderson + Grant * A Creative Princess * Bloom Designs * Embracing Change * It Happens in a Blink * Classy Clutter * Tatertots and Jello * Thrifty Decor Chick *


These turned out great! This is a great way to save money too!
ReplyDelete-Erin @ DIY on the Cheap
I did this for my friend's little boy when I made his quilt and I really liked how it completely changed the curtains and the look of the room. YOu are really smart to use the premade hem on the sheet. Sometimes I flake out when it comes to things like that, so I think you're pretty crafty!
ReplyDeleteAnd projects like THIS are what keep me reading your blog! Love it!! :)
ReplyDeleteLinda
That came out great! I love how it looks with two colors instead of one. It definitely draws your eye to the window.
ReplyDeleteGreat job!
I really love how something so simple made such a big statement! I look forward to seeing the finished master:)
ReplyDeleteSuch a little update, but makes a BIG difference to the room. Can't wait to see the rest of it.
ReplyDeleteThese look lovely. Once I've improved my sewing skills I want to tackle curtains and a blind for our bedroom. We shall see. Well done for yours.
ReplyDeleteOver from Funky Polkadot Giraffe :o)