Posts

Showing posts with the label frames

TV Gallery Wall

Image
The gray accent wall has been painted.  You can see that here , when I posted about the mounted TV.  We initially chose to go with the same color as our office, Behr Grayve Yard.  I bought a quart and got to work.  I've experienced that paint goes on lighter and dries darker.  As I was painting, I was desperately hoping it would dry much darker but it never did.  The office has all four walls painted and the lighting in the office looks different than the loft area.  I think these two differences made the color appear lighter in the loft.  So we made a decision to go darker.  I looked through my paint swatches and went with Behr Intellectual.  It's a really dark gray and almost looks black in person. We made another trip to Home Depot.  I still had half the quart of Grayve Yard left and didn't want it to go to waste.  I asked the paint guy to darken it to Intellectual.  Since the bases for the two colors are completely d...

West Elm Inspired Frame

Image
I was browsing Pinterest the other night and came across this cute frame from West Elm.  I clicked the link to see if it was still available.  No, it isn't.  Bummer.  I actually liked the black and white graphic front. Well guess what, I can make my own.   I had one of these wooden frames from Michael's in my craft stash.    I gave it a couple coats of white paint.   You can see here where I used a ruler and drew the lines like the original frame.  I was sure to shade the areas that would get paint so I wouldn't confuse myself.     I painted the shaded areas with black.  I painted free hand with no tape.  When it was dry, I gave it a coat of mod podge to seal everything in.  It also gave the frame a little sheen.  It is the perfect frame to put a photo of two of my favorite people.     The black and white pattern works for this little table. ...

DIY Nursery Prints

Image
Since this is a nursery, I knew I wanted some cute prints.  There were several out there on Etsy and other websites but I wanted to try making my own.  This way, I could customize them with the images and colors I wanted. With the help of hubby and Photoshop, here's what I came up with. I pulled the colors and animals from the bedding.  Of course the orange had to be in there.  I printed them out and put them in my DIY matted frames . Now that I'm starting to play around with Photoshop, I can make the art in this room much more personal.  I've got a few other ideas in mind. For more nursery progress: Nursery Plans Striped Wall DIY Photo Mattes Sharing with DIY Show off * I Heart Naptime * Setting For Four * Under the Table and Dreaming * Be Colorful * Between Naps on the Porch * Craftomaniac * DIY H ome Sweet H ome * Keeping It Simple * Making the World Cuter * Marvelously Messy * Project Inspire * ...

DIY Photo Mattes

Image
Since I'll be putting prints in the nursery, I figured I would need some frames.  On a trip to Ikea, I made my way to the frames section.  Before going in I had already made my mind up that I would get the Ribba frames.  Before getting to the Ribba, I saw the Nyttja.  It was the same size as the Ribba I was going to get, but they didn't have the mattes in them.  Mattes are a major thing for me.  I just think they make a photo look better in the frame.  They were also lighter in weight which was a good thing since they would be hanging over the crib.  They were a few bucks cheaper and I was thinking of the money I would save.  I thought for a few seconds and decided I can make my own mattes.  How hard could it be?  I grabbed the frames and checked out. On the way home I went to the dollar store and got some poster board for my mattes.  At home, I laid out my supplies. frames poster board existing matte from another fra...

Hanging Frames With Double Hooks

Image
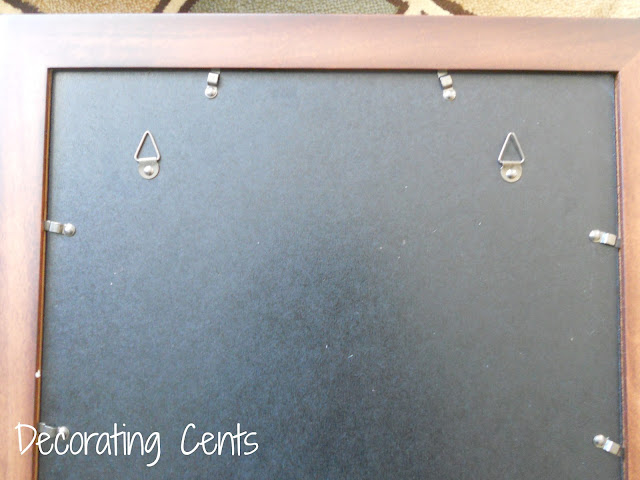
When I hung my entryway gallery , the frames had double hooks on the back.  It may seem to be harder to hang pieces like this, but it's actually pretty easy.  I have found this method to work great with frames or art. Turn your frame over. Using a piece of tape, lay it over the hooks. Mark on the tape where the nails will go. Remove the piece of tape and place it on the wall where you want your frame to go.  Use a level to make sure the tape is straight.  Place your nail right above your marks. Hang your pictures. Now you have yourself a level frame.  Simple, huh?  Have you tried this method?  Tell me, is there another way?   Sharing with The 36th Avenue * House of Hepworths * Bear Rabbit Bear * Happy Hour Projects * The Shabby Nest * Chic on a Shoestring Decorating * Five Days Five Ways * A Bowl Full of Lemons * Home Stories A to Z * Homework * My Uncommon Slice of Suburbia * New Nostalgia * Not Just ...

Entryway Photo Gallery Wall

Image
We had this expansive wall to the left going up the stairway when you walk into our home.  I had gone back and forth between putting up some art or doing a gallery wall.  Well, I was in my favorite store this weekend, Target if you didn't know, and came across some large frames on clearance.  I put four in the cart and knew exactly where they were going.  Time for another photo gallery. I had some family photos put away that never made it into frames.  I pulled them out and put them in my new frames.  Next was deciding how they were going on the wall.  I traced a frame onto plastic bags, I didn't have any newspaper on hand, cut out my templates, and taped them on the wall to get my placement.  After measuring, adjusting, and measuring again, I got to nailing.    Here's looking overhead from the loft.   Looks so much better now that something is filling that wall.   Now I can see my family's beautiful...

Kitchen Command Center

Image
Let me just admit it, I have too many pieces of paper floating around in the kitchen.  The drawer next to the refrigerator collects too many papers.  When coupons come in, they go there.  When I find recipe, they go there.  I need a way to organize papers, write down needed items, and post the weekly menu.  I made the dry erase menu a little while ago but I hated that is sat out on the counter.  I'm more of a less is more kind of girl.  So where could I hide all the stuff?  The pantry doors! I bought a few frames so they would all match.  Using the same chevron background for each, I made a miscellaneous board, a menu board, and a notes board. For the miscellaneous board, I painted some clothes pins and attached them with hot glue.  Now there's a place for coupons and new recipes I'm trying for the week. The menu board is just like the last one I made. The notes board is to write down items needed or other random ...