OMG Nail Strips
I'm not the type to get my nails done on a regular. I don't like spending money on something I don't feel like I'll get the full benefit from. I used to wear acrylics a long time ago. They were pretty but are horrible for your natural nails. After kids, I just cut the expense and went natural. Every now and them I'll paint my nails myself and wear the polish until it starts to chip. I've even gone to the salon to have the ladies there paint my nails, but again the wear only lasts a few days. Between washing my hands all day, doing dishes, and projects around the house, the polish doesn't last.
I was contacted by OMG Nail Strips to review their nail polish strips. I was skeptical about reviewing them on the blog since they are not home related, but I have been wanting to try strips for a while. Like me, many of you use your hands a lot, whether doing DIY projects or everyday life. According to their website, these strips have a resistance to chipping, tearing, and wrinkling during application. They have a little stretch to them so application is easier.
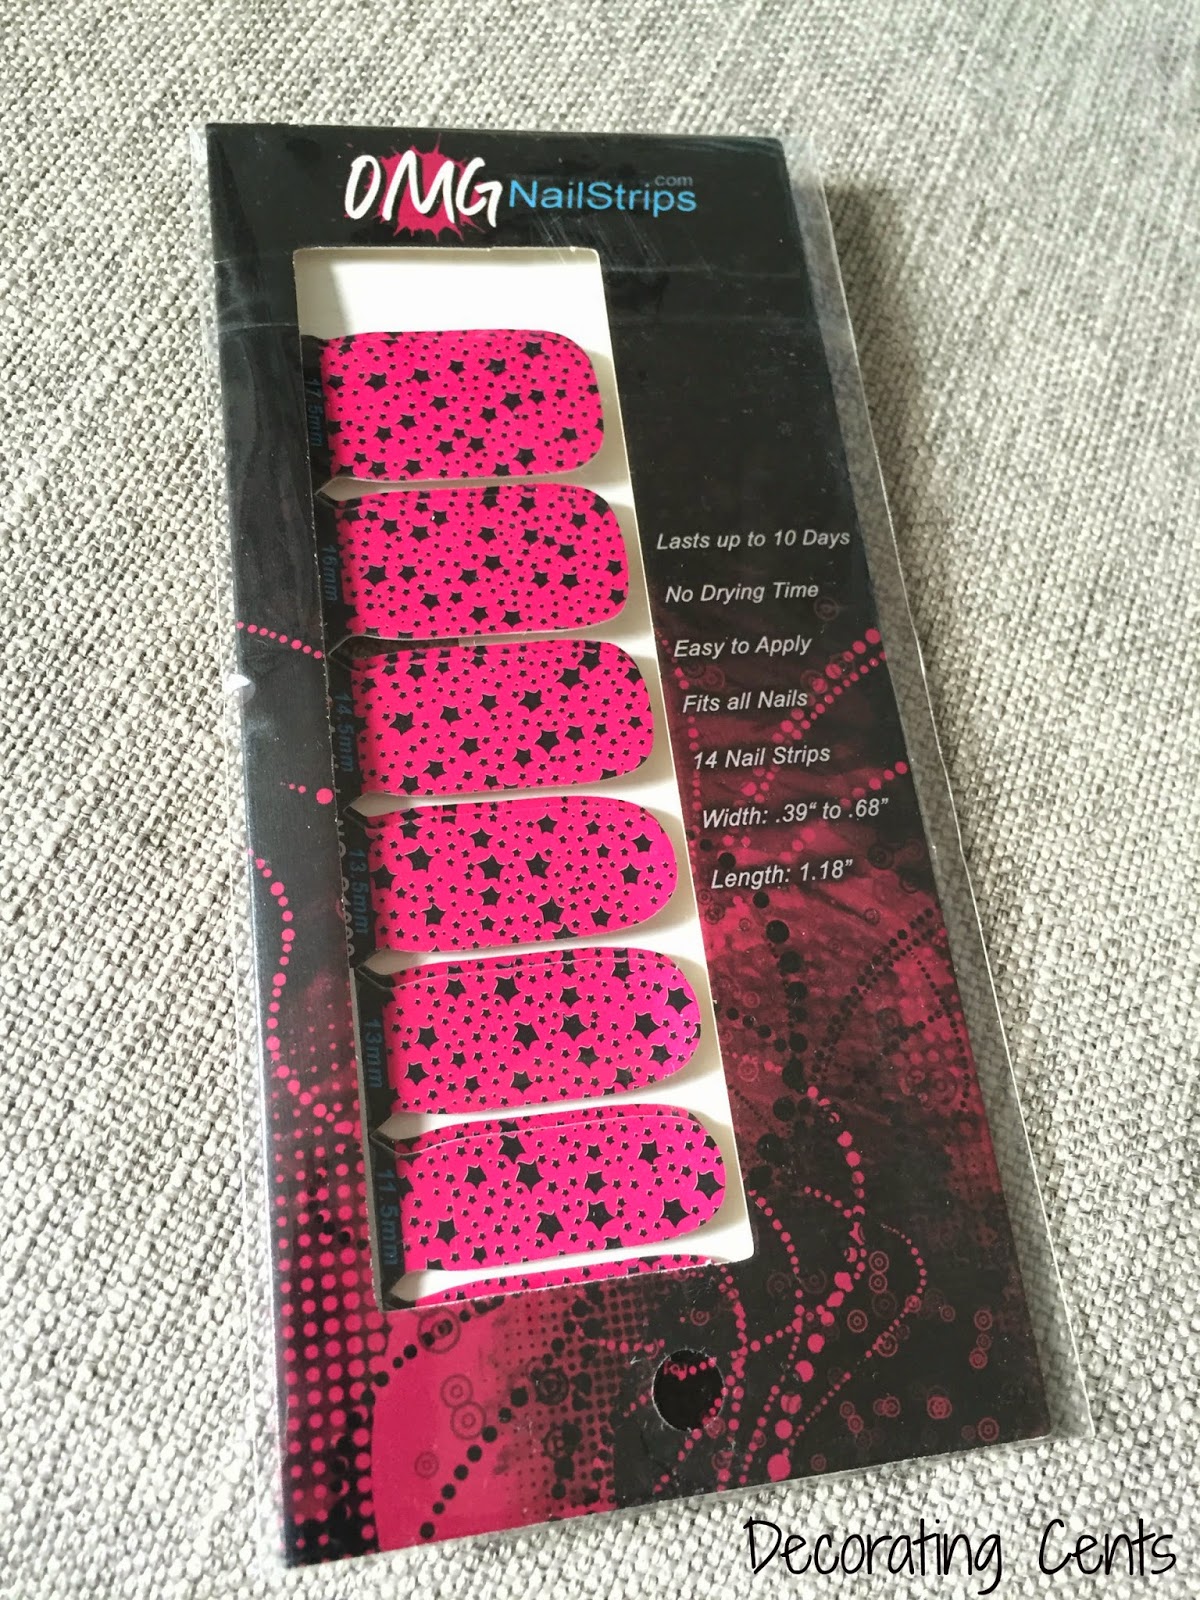
I chose a couple strips I liked to review. I decided to try the Pink and Black Stars pattern first. Each pack comes in a set of 14 strips in varying widths so you can custom fit them to your nails.

I used the instructions on the back of the pack to apply them to my own nails.
1. Soak your hands in warm water for 5 minutes. Dry hands, then gently
push back cuticles. Carefully remove any excess skin around the nail
bed.
2. Moisturize your hands with lotion, and wait 1 minute.
3. Using a Q-tip, remove any leftover lotion from the nail bed, paying
special attention to the sidewalls, cuticle area and tip of the
fingernail.
4. Select the appropriate sized nail strip for each nail to ensure the
nail will be covered from sidewall to sidewall. Using a nail strip that
is too large for a particular nail is not recommended; rather, trim the
strip the scissors to the appropriate width.
5. Peel off the clear coating, and then carefully remove the nail polish strip from the sticker backing.
6. Start by placing whichever end on the nail strip that works better for
your nails at the cuticle and apply it by smoother the strip towards
the tip and your nail, smoothing out and bumps and ensuring the strip is
tucked neatly into the sidewalls.
7. File away any excess nail strip by holding your nail file parallel to
the surface you are working on, as filing the nail perpendicularly will
cause tearing along the tip.
8. After you have applied all ten polish strips, take a cotton ball the
has been dipped in polish removed with the excess remover wrung out, and
swipe each nail 1-3 times, paying special attention to the sidewalls,
tips and cuticle area. This step is especially important, as it melts
the strip to your nails, allowing for longer lasting wear.
9. Apply a finishing topcoat, and wait 5 minutes for it to dry completely.
They were pretty easy to apply and once I got the hang of it, it went pretty fast. I applied them on Saturday afternoon and this is what they looked like Monday afternoon. Of course you can see wear on the tips from normal use. There was also some lifting at the cuticles. After cooking and cleaning that evening, they didn't last much longer. A couple of them chipped so they all had to be removed. The pack says to use polish remover but they simply peeled off for me.

Not sure if I would but these or not. I like the ease of applying them and the various patterns but I don't like the thought of being extra careful not to mess up my nails. Also, if one chips, you can't just touch up the color. You have to use the extra strips from the pack to apply another one.
OMG Nail Strips offer many patterns to choose from so there's something for everybody. They offer free shipping and right now they have a promo for five packs of nail strips for $25 with the code 5pack or ten packs for $45 with the code 10pack.
What's your take on nail strips?
*I received this product to review for free but the views and opinions expressed are my own.
*I received this product to review for free but the views and opinions expressed are my own.

You're reading OMG Nail Strips by Andrea, originally posted on Decorating Cents. If you've enjoyed this post, be sure to follow Andrea on Facebook, Pinterest, Bloglovin, and Hometalk.


Comments
Post a Comment
I love to read your thoughts and comments!